In the unpredictable world we live in, preserving the security and safety of our homes is of paramount importance.
This is where security cameras come in—to serve as the watchful guardians who provide peace of mind while deterring potential dangers. Better put, they provide an added layer of protection with their vigilant eyes, making our houses become secure havens.
Installing security cameras may appear to be a difficult task, but fret not, as this article will walk you through seven simple steps to install security cameras in your house. So, buckle up, prepare to take command of your home protection, and begin the journey of better security. Let’s get right into it.
Step 1: Determine the Placement of Cameras
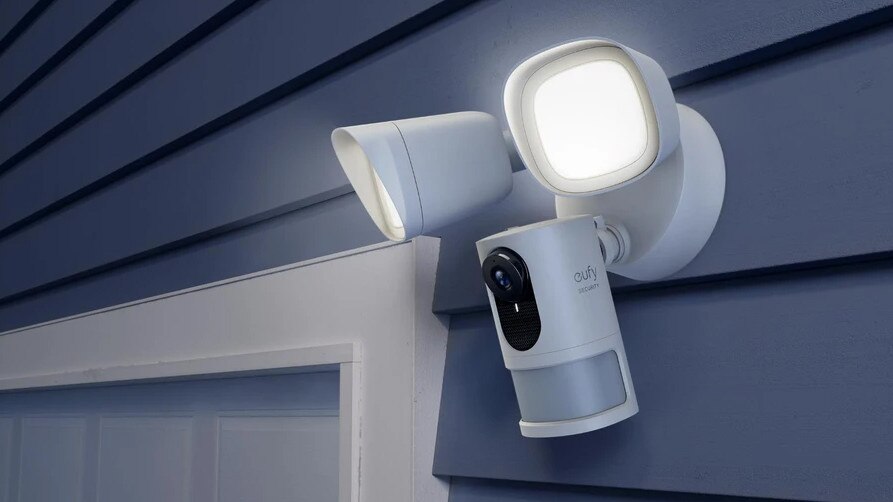
When it comes to installing security cameras in your house, strategic placement is essential. The positioning of your cameras can have a significant impact on their ability to capture crucial footage.
So where should you put them? Begin by focusing on crucial places such as the backyard, driveways, and your home entrances—these are prime targets for potential burglars. But don’t stop there! Think about other vulnerable places as well.
Take a tour around your property to determine the best angles and places for maximum coverage and look for any obstructions or blind spots that may be impeding camera function. Remember, a strategically-placed camera can act as both a deterrent and a vigilant eye over your home.
Step 2: Choose the Right Security Camera System
To choose the best security camera system for your home, consider the various options available. Luckily, you have several choices—wired, wireless, and IP cameras.
● Wired cameras: These ensure regular monitoring by providing a dependable and robust connection.
● Wireless cameras: These, on the other hand, provide flexibility and ease of installation by eliminating the need for cables.
● IP (internet protocol) cameras: These often offer enhanced features as well as remote viewing, delivered to your chosen device.
Before arriving at a decision, consider your budget and specific needs. Think of aspects such as ease of installation, coverage area, and desired features. By taking into account these factors, you can choose the security camera system that offers the best security for your home and best meets your requirements.
Step 3: Gather the Necessary Tools and Equipment
Before beginning the installation process, it is important that you have all of the necessary tools and equipment. Some of the essentials you’ll need include:
● a ladder to help you access high spots
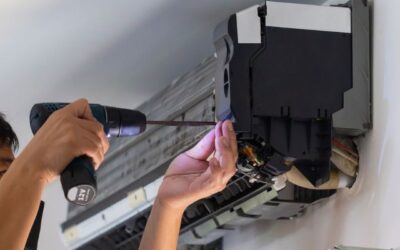
● a power drill for securing the cameras
● screws to firmly mount the cameras
● cables for connections
● a monitor to watch the video feeds.
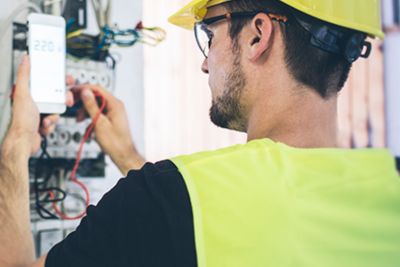
Suppose you don’t have these essentials on hand, don’t worry. You may borrow some from neighbours or friends, rent them from your local hardware store, or even better, buy a basic toolbox. Having the proper equipment readily available will make the installation process much easier and more efficient, ensuring your security camera system is properly installed. Keep in mind that any wiring that is required should be completed by a licensed electrician, therefore if you are investing in wired security cameras, and do not have the wiring or capability in your existing switchboard to be able to handle the extra load, you should arrange for an electrician to attend your property and make the necessary upgrades.
Step 4: Mount and Install the Cameras
To mount and install your camera system properly, here are a few simple steps you can follow.
1) Choose the mounting location on ceilings and walls where the cameras will have the best view.
2) Use appropriate brackets or mounts to secure the cameras in place, ensuring stability.
3) Ensure proper alignment and positioning of the cameras to capture the desired areas effectively.
4) Make sure the cameras are angled correctly to maximize coverage and minimize blind spots.
5) Use a level to ensure the cameras are level and mounted straight.
6) Securely tighten the brackets or mounts to prevent any movement or loosening over time.
7) Double-check the camera’s field of view and adjust the position if necessary.
Proper positioning and alignment are vital since they ensure that your cameras effectively monitor the right areas and offer excellent surveillance coverage.
Step 5: Connect the Cameras to the Recording System
After you’ve mounted your cameras, it’s time to connect them to the network video recorder (NVR) or recording system. Here’s how you can get this done:
1) Identify the ports on the cameras and the NVR/recording system.
2) Connect your cameras using Ethernet cables for a wired connection, or set up wireless connections based on the manufacturer’s instructions.
3) For wired connections, plug one end of the Ethernet cable into the camera’s port and the other into the corresponding NVR/recording system port.
4) For wireless connections, access the camera’s settings and follow the prompts to connect it to your home Wi-Fi network.
5) Once connected, ensure the recording system/NVR detects the cameras.
In the event you start experiencing connectivity issues with your security camera system, here are a few troubleshooting tips you can use.
● Restart the cameras as well as the NVR/recording system.
● Check that the camera and the NVR/recording system are connected to the same network.
● Inspect the cable connections and see that they are properly plugged in.
● Refer to the manufacturer’s manual or contact customer service for further support.
Step 6: Configure and Test the System
It’s important to configure your camera settings to guarantee optimal performance. To achieve this, do the following:
1) Access your camera settings through the provided software or app and adjust variables such as resolution, contrast, and brightness to suit your environment and preferences.
2) Enable motion detection to receive alerts whenever your surveillance cameras detect movement. However, you may want to adjust the sensitivity to minimize false alerts triggered by natural movements or pets.
3) Configure the video quality to achieve a good mix of clear footage and storage space. Remember, the higher the quality, the more storage space is required.
4) Also, don’t forget about remote access! Set up the app or program to allow mobile or computer access to your security camera live feeds.
After you’ve configured your system, it’s time to put it to the test. Walk around your home, triggering motion detection to verify the camera’s accuracy in capturing occurrences. Check thoroughly to guarantee that they are working correctly.
Step 7: Set Up Remote Monitoring and Notifications
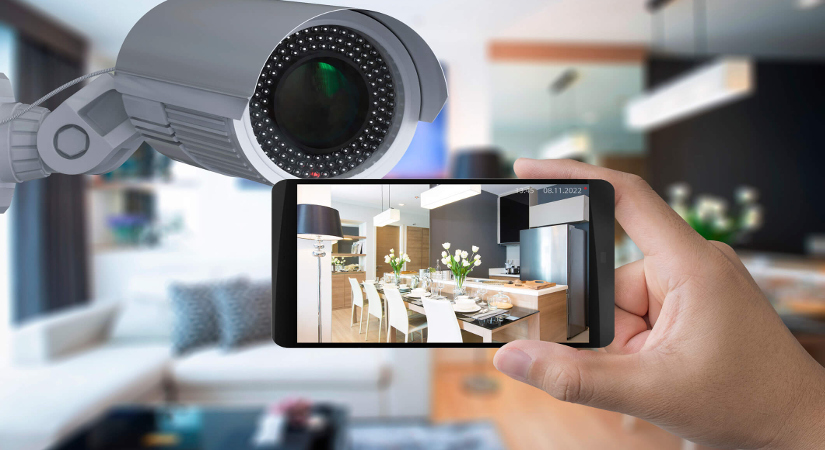
Remote monitoring and notifications offer peace of mind and convenience by allowing you to receive alerts for security events or motion detection, as well as access camera feeds from anywhere in real time.
To set up remote access, all you need to do is install the manufacturer’s app on your computer or mobile. And by following the given instructions, you can connect the app to the security camera system and gain access to live video feeds remotely.
Moreover, you can customize the notification settings within the app to suit your needs, enabling you to stay informed about any potential disturbances or events.
Key Takeaway
As seen in this article, installing security cameras in your home is not complex but also not as easy as the DIY videos make it out to be. In fact, it’s sometimes easier to get a professional installer to undertake the steps discussed above.
Determine the strategic placement of cameras, choose the right camera system, gather the necessary tools, mount and install the cameras, connect them to the recording system, configure and test the system, and set up remote monitoring and notifications, that’s all.
Remember, your home security is critical, and installing security cameras just gives you the peace of mind you need as far as protecting your property is concerned. So, what are you waiting for? Follow these installation steps and bolster your home security today! Or you can just save time and call a professional to install your security cameras now.

